
We've promised this one three times. The first dev log said cannoning was coming home. The third said cannons would get a dev log of their own. The fourth kept Construction and Siegecraft shut until this post. They're open now, so here's a look at what's inside.
About that cannon promise
In the first dev log we said that if you know how to build a cannon, that knowledge was about to matter again. We owe you the honest version of that.
We tried it. A reworked dispenser cannon went into the new raid system, and then we took it back out. It didn't fit the claim and raid rules you'll read below.
So the redstone knowledge doesn't carry over. The skill does. It just lives somewhere else now: the aim, the charge, and the fuse. Anyone who can build where a cannon stands can fire it. Putting the shell where you meant to is the part that takes practice.
How a raid starts
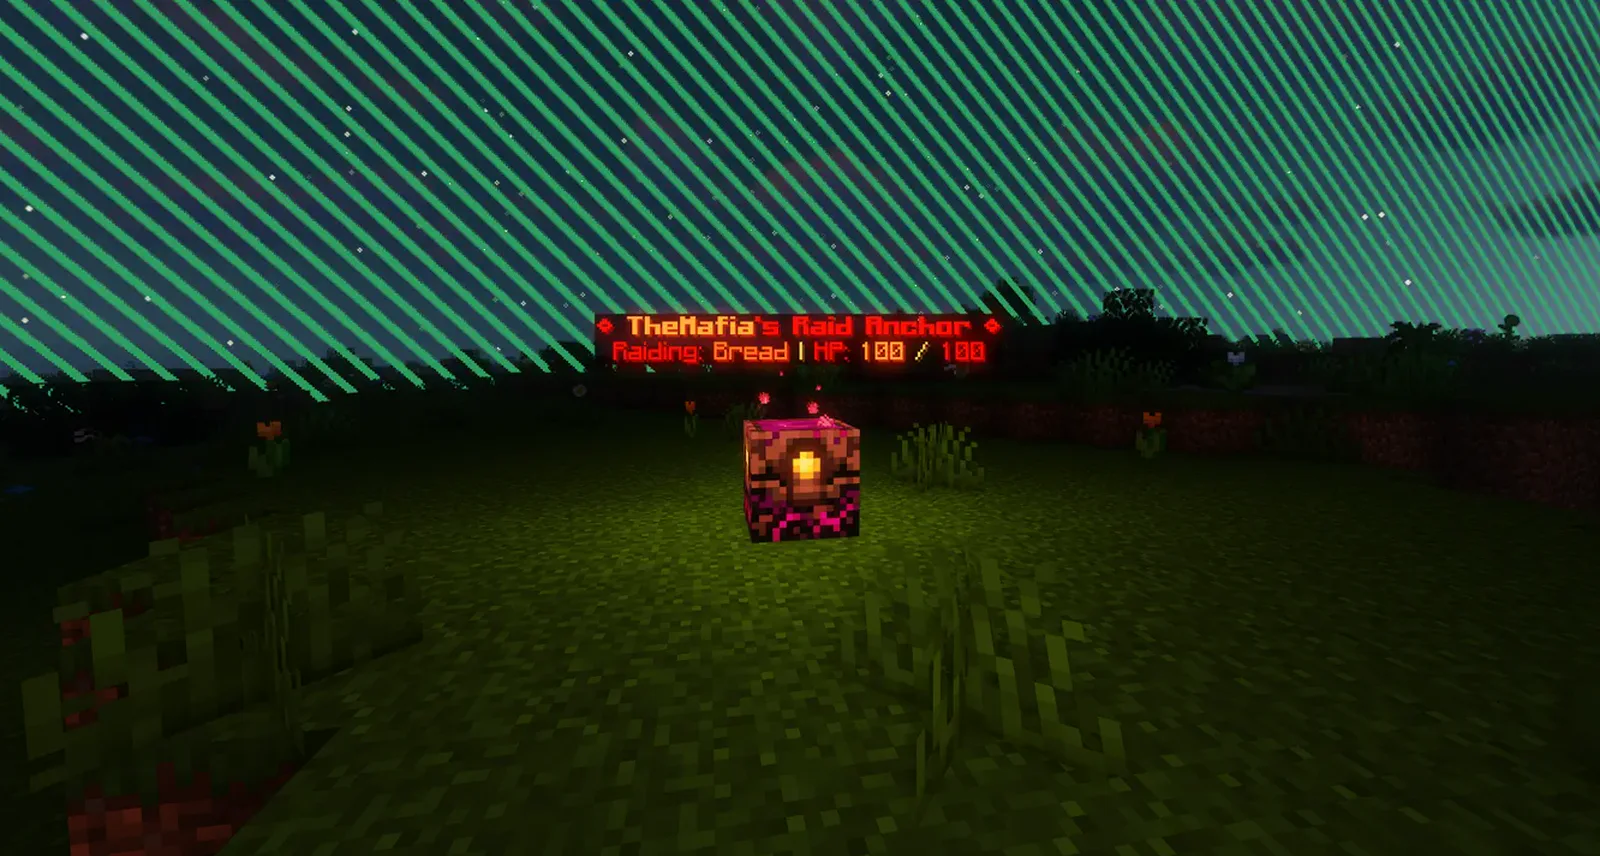
Raids are declared. A faction researches the Raid Anchor in Siegecraft, and then a leader or moderator runs /f raid <faction> to get one. Plant it near the target's land and it sets up a small raid claim for the attackers. The moment it goes down, the defender gets an announcement, and their allies get one too, so nobody has to ask whether help is needed.
The anchor is the raid. Defenders can damage it with blasts near it, and it loses health each time one of the raiding attackers dies. If it runs out, the raid ends and the raid claim goes away. It's one raid per target, and one target per attacker.
The Faction Shield is a daily window your faction picks. It holds only while no member is online and no raid is running.
The origin rule
This is the rule the whole system hangs on.
What a shell can damage depends on where it was lit, not where it lands.
- Raiders fire from their raid claim. That small patch the anchor claimed is the only place an attacking cannon can shoot from and still hurt the base you are raiding. The only thing they can hit is that base's claims.
- Defenders fire back from their claims. From there their shells can hit the raid claim and everything in it.
- Everything else is safe. If you aren't the one raiding, your shells can't touch that base's claims, and a faction that is neither raiding nor being raided has nothing for a shell to hit.
Walls, machines, cannons, cores, and anchors all obey the same rule. There isn't a list of exceptions to memorize. Ask where the shell was lit, and you have your answer. Where you set your anchor is a real decision, because it's where your cannons live for the rest of the raid.
Cannons
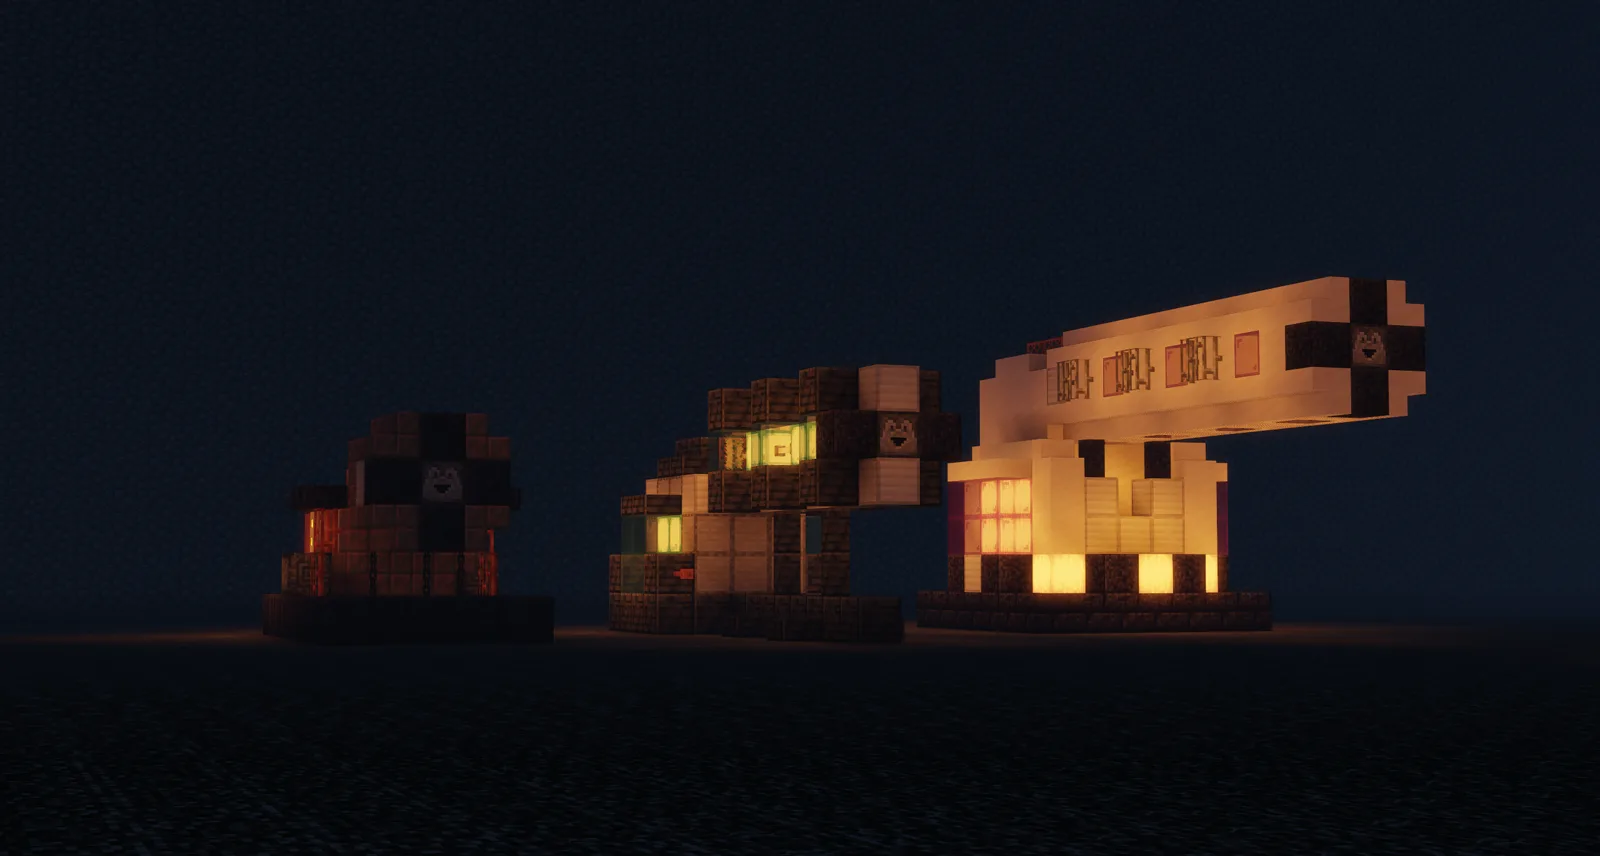
Cannons come as kits: the Scrap Bombard, the Refined Culverin, and the Pristine Siegebreaker, unlocked in Siegecraft in that order. Place the kit and the cannon assembles block by block in front of you. Bigger cannons turn wider, aim higher and lower, scatter less, hold more shells, reload faster, take more punishment, and reach much farther.
Then you take the sights. A particle arc draws the predicted flight of the shell, with a landing marker where it will come down. Where you look aims the shot, a left click locks it in, and the hotbar slot you hold sets the charge. Each shot burns Raw TNT as powder, one per charge. You line the shot up against the real wall in front of you, not against a number.
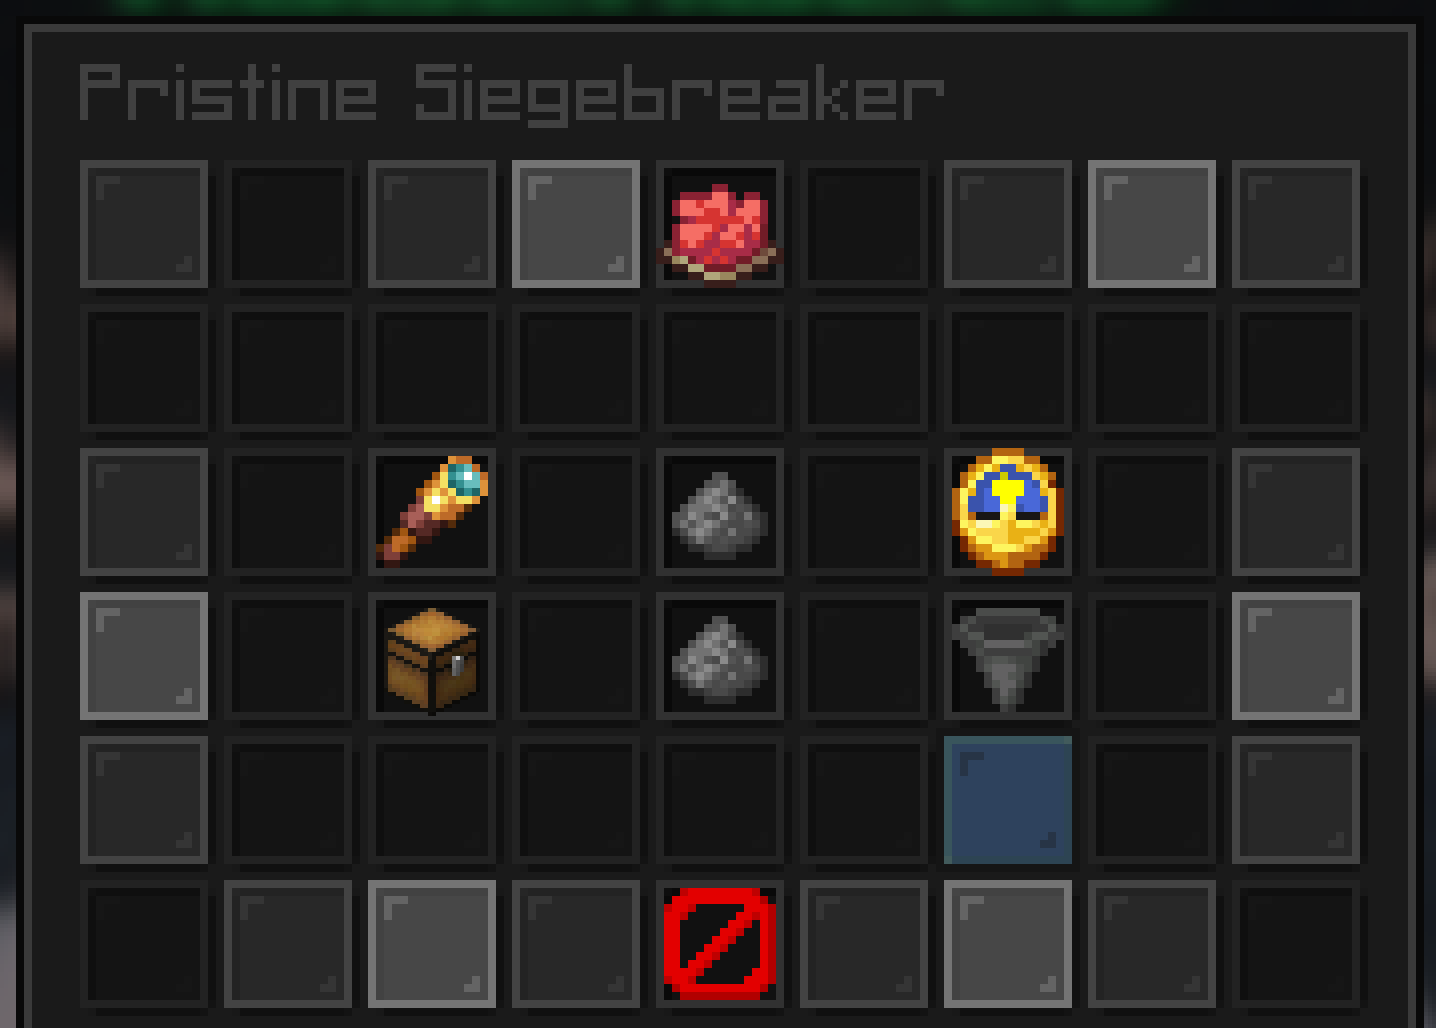
Cannons wear down from hits and wreck at zero, and breaking any block of one takes the whole cannon down.
Long shots don't stall. The world along a shell's flight is loaded ahead of the shot, so the longest shots never freeze in midair. That was non-negotiable for us, because a siege where your shells hang in the sky and the server catches its breath isn't a siege.
Six kinds of shell
The small cannon fires Siege only, the middle one adds Heavy, Freeze, and Shotgun, and the big one fires all six. Every shell has its own trail and its own blast.
- Siege. The standard round.
- Heavy. Hits walls harder and flies slower. It's the shell for the wall that has to come down.
- Shotgun. Wide and shallow.
- Freeze. Does no damage, and strips a wall's special powers for a short time.
- Railgun. Flies dead straight and cracks a single cell. It overheats the gun, which limits how fast you can fire it.
- Nuke. Sweeps every column it touches from top to bottom, and flies slowest of all.
Walls, traps, and turrets
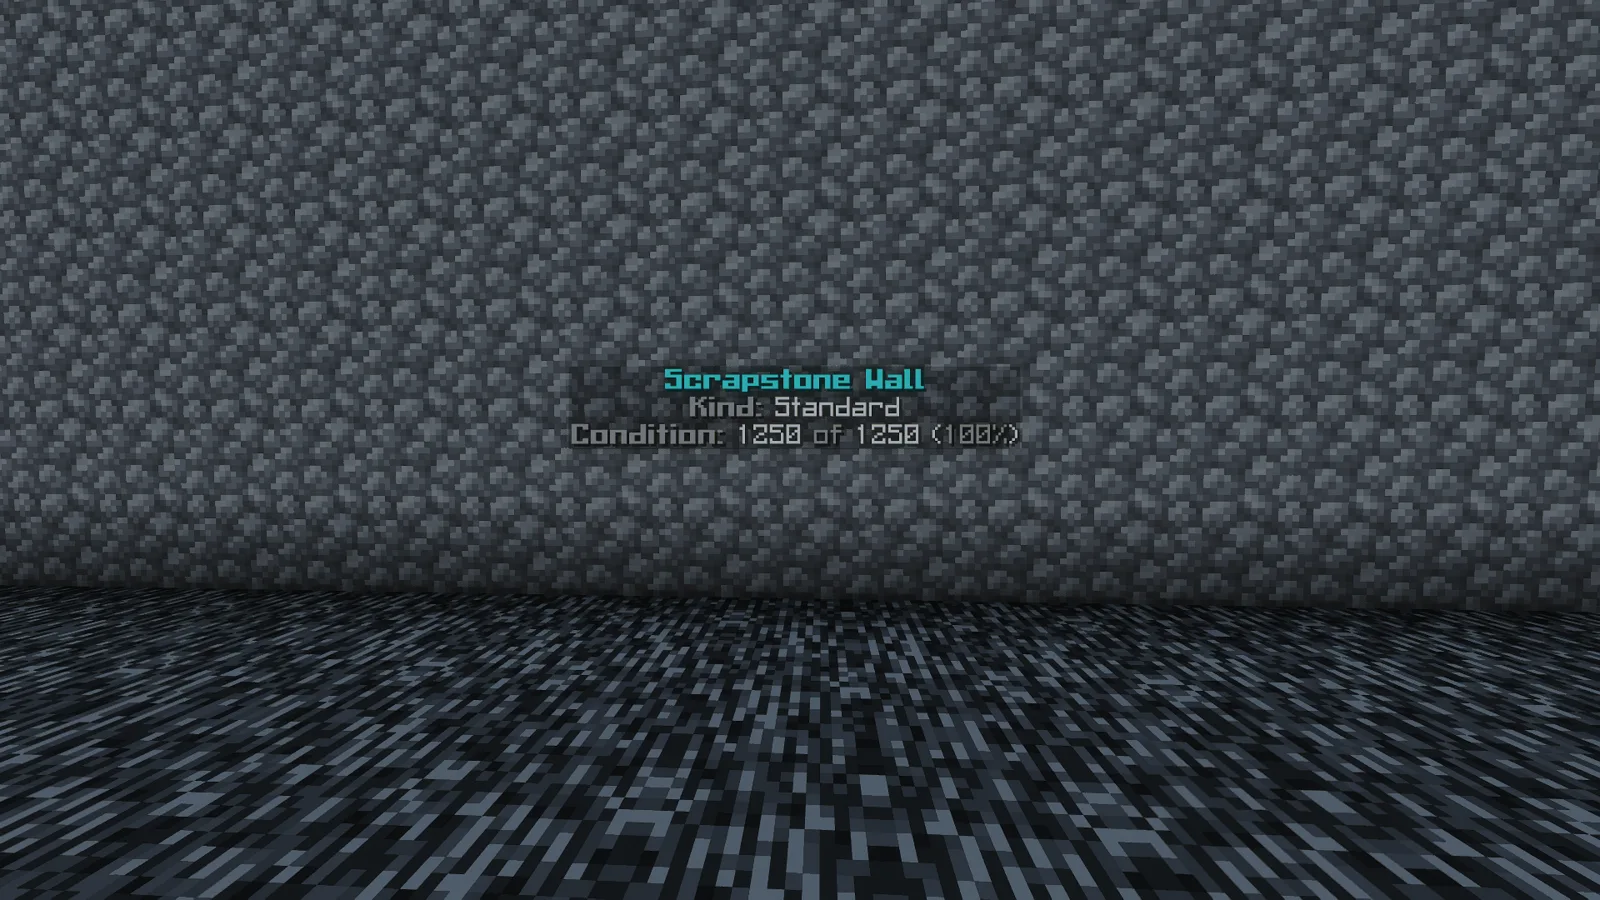
Walls are poured from a Wallwright Bucket, in four tiers. Every block has its own health and shows cracks as it takes damage. Look at one of your own walls from close range and a floating label shows its tier, its kind, and its condition. Stacking standard walls more than one thick makes them take double damage, so thickness is not a defense.
A column that has been broken through can't be re-poured right away. Walls heal after a quiet period, though during a raid only Regenerative walls keep healing. Above tier 1 they cost upkeep from your Silo, so a wall you can't pay for drops tiers. An Upgrade Bucket raises a wall a tier in place.
Four special walls change the fight. Regenerative heals and rebuilds its own cells. Juggernaut is five wide and five thick, and never heals. Mirror throws a Siege Shell back at the cannon that fired it, and Freeze is the answer to that. Sacrifice hurts the cannon that hits it.
Traps mount on a wall face on your own claim and only ever hit hostile players. You and your allies walk through them untouched, and raiders can punch or shoot them off. Razorvine, Frostbite, and Ram Plate come first, with Blast Plate, Blight Vent, and Shock Lattice in the second tier.
Rapid and Marksman turrets slide up and down a wall to match the height of their target and draw a tracer so you can see the line they're shooting along. Explosive Arrows bring the turrets down.
Winning and losing
A raid is won at the core or at the anchor.
- Attackers win by cracking the core. Hits on the base's core crack it, and further hits drop it a tier. Each drop seizes part of the faction's bank and refills your Raid Anchor.
- A tier 1 core that falls is destroyed. It takes the faction's land and most of its bank with it, and the winners get a Haste buff.
- Defenders win by outlasting the anchor. Blasts near the Raid Anchor and every raiding attacker killed cost it health. When it runs out, the raid ends and the raid claim disappears.
- Stalling has a price. A raid that stalls without dealing enough damage can be taken over by another hostile faction, so if you plant an anchor and then sit on it, someone else gets to finish what you started.
Siegecraft and Construction
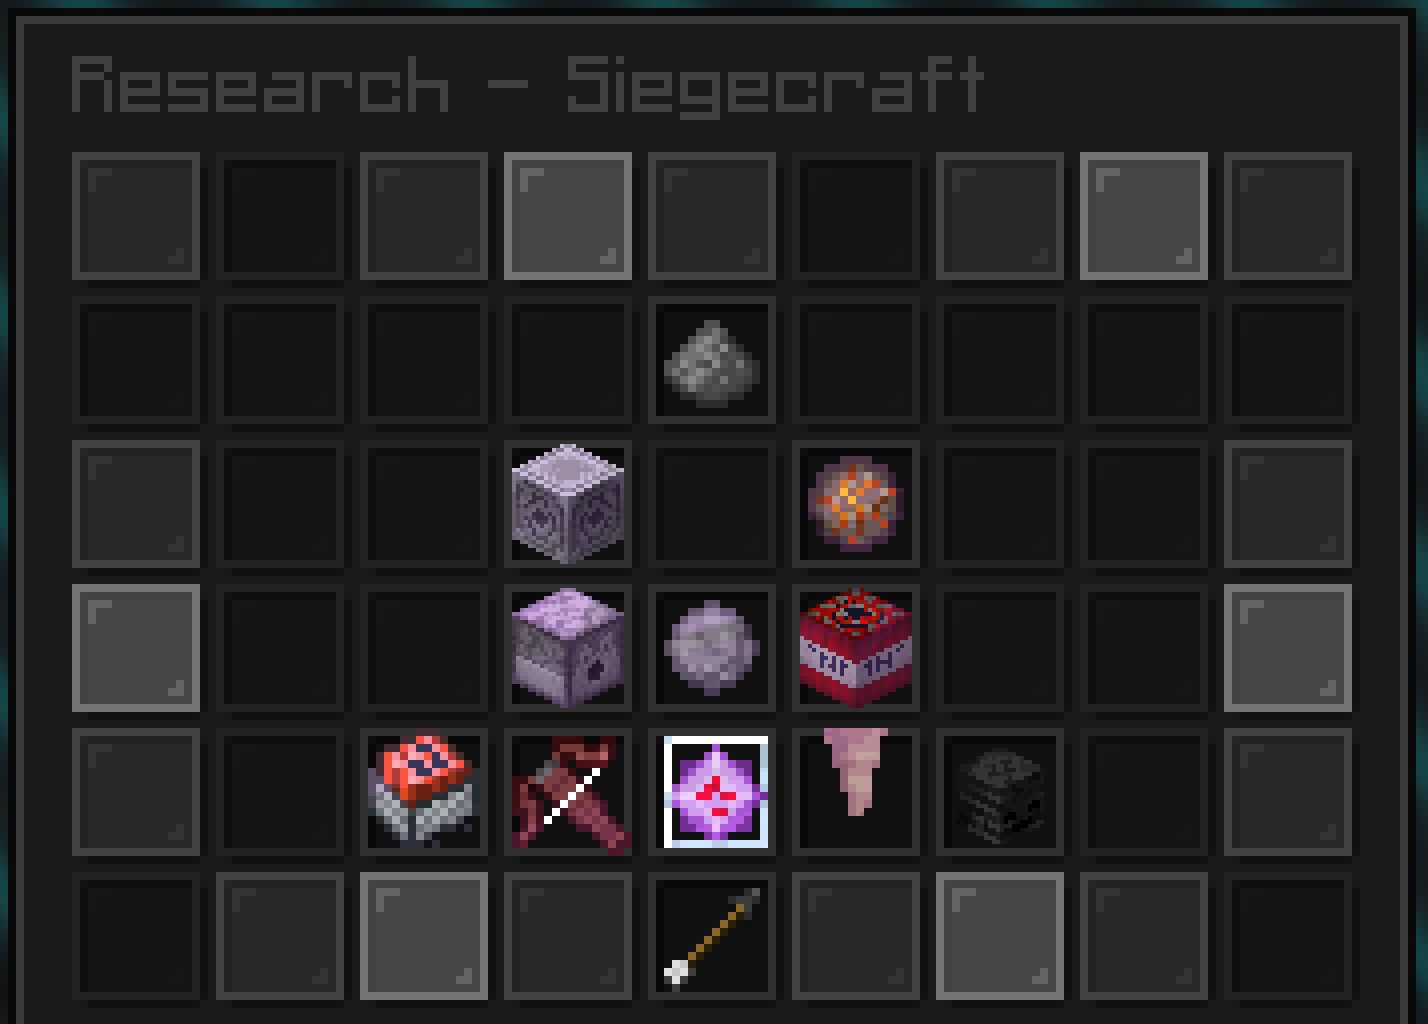
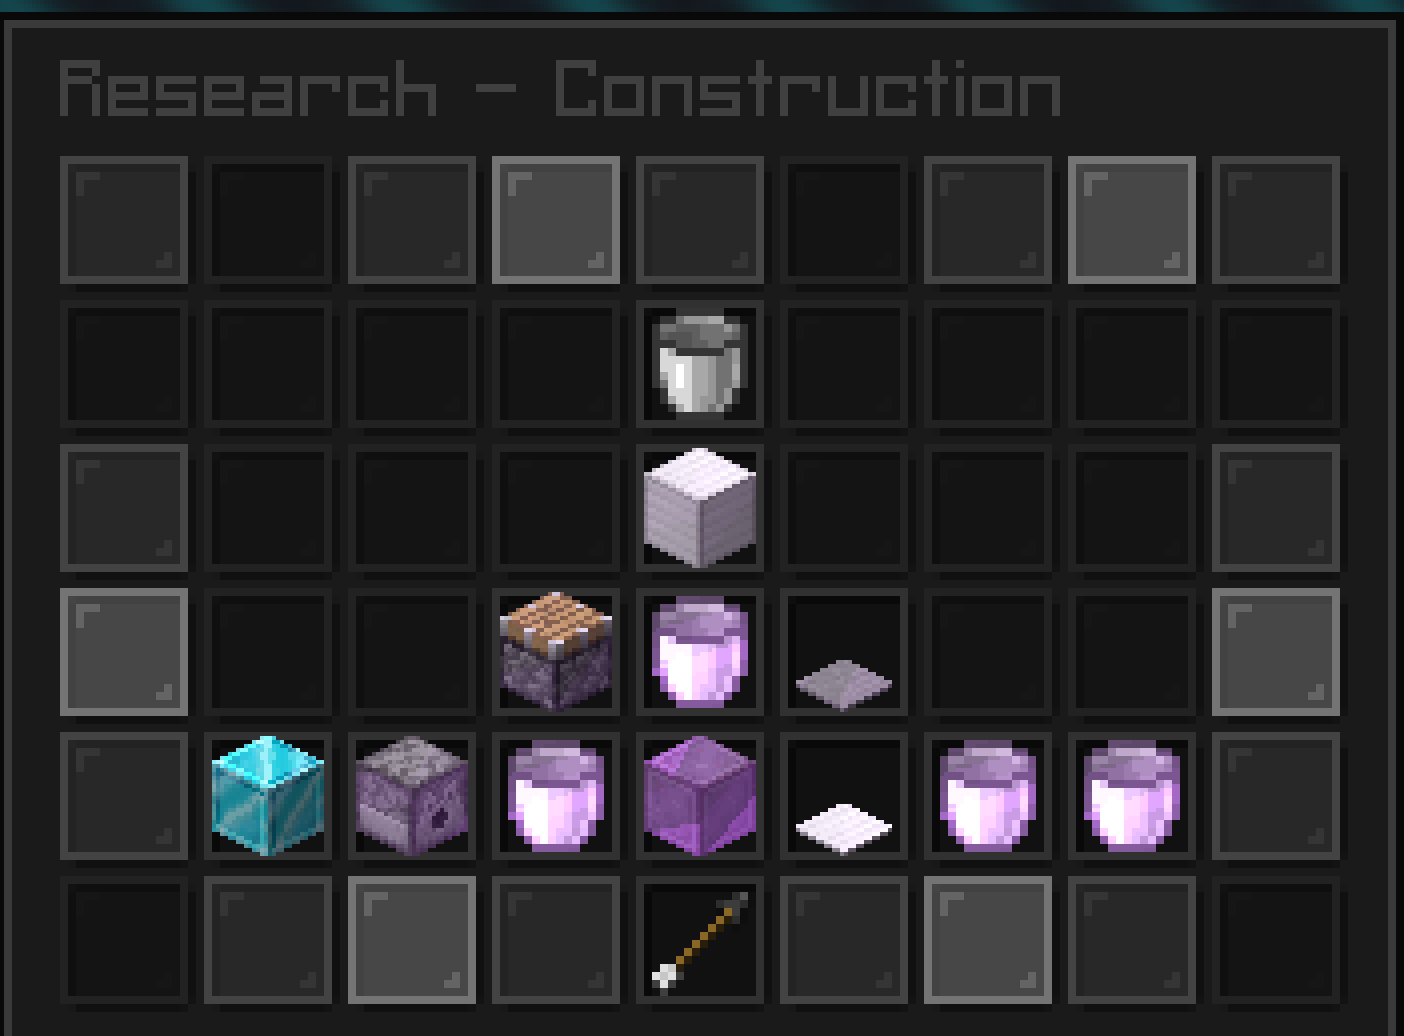
These are the two branches that stayed shut in the last dev log. They're open now.
- Siegecraft is how you attack. It opens gunpowder, the Raid Anchor, charges, the three cannons, the shells, and the turrets. Firing a first cannon takes a handful of Siegecraft nodes.
- Construction is how you hold. It opens the wall tiers, the buckets, the traps in their two tiers, the four special walls, and longer pours.
Research belongs to the whole faction, so one of you pays and everyone gets it.
Up next: the trailer
Our trailer is up next, and it's coming very soon.
If you want to be the first to know, the Discord is where it will land. We'll be posting on TikTok, YouTube, and X too, so pick whichever one you actually check.
Start planning where you'll fire from. See you out there.